 Orders placed between June 24 and July 5 may experience slight processing delays due to inventory reconciliation and warehouse maintenance.


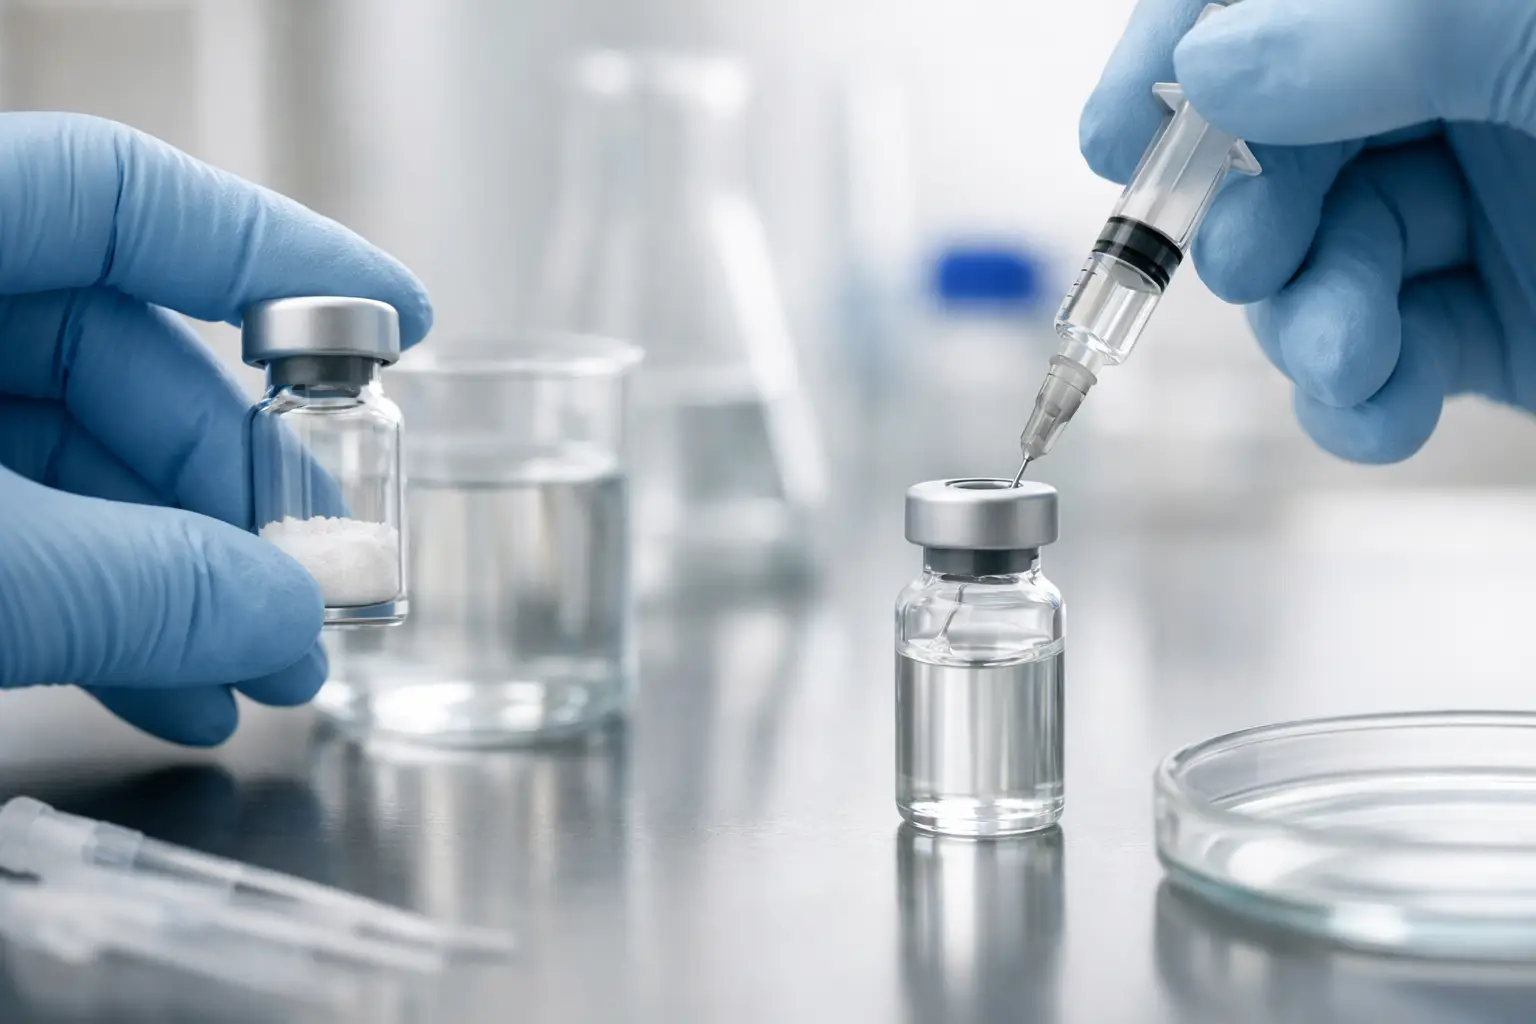
A lyophilized peptide vial can look deceptively simple: a small amount of powder, a label, and a stated mass. The real work begins when that vial is opened for research preparation. This guide to peptide reconstitution basics focuses on the controls that protect sample integrity, support repeatable research, and prevent avoidable losses before a project starts.
Peptide handling is a precision process. Product quality matters, but so do the decisions made after delivery: selecting an appropriate diluent, maintaining clean technique, documenting concentration, and storing the prepared material under validated conditions. Research-use compounds are not approved for human consumption, and reconstitution should always follow the compound-specific documentation and applicable laboratory procedures.
Guide to Peptide Reconstitution Basics: Start With Control
Reconstitution means returning a lyophilized, or freeze-dried, peptide to a solution by introducing a compatible diluent. The goal is not simply to make the powder disappear. The goal is to create a uniform, accurately documented research solution without damaging the peptide or introducing contamination.
Lyophilization helps support stability during shipment and storage, but it does not make a peptide indestructible. Heat exposure, excessive agitation, poor storage practices, incompatible solvents, and repeated temperature cycling can all affect the quality of a prepared sample. A disciplined process limits those variables.
Before beginning, review the vial label and product documentation. Confirm the peptide identity, stated mass, lot information, recommended handling conditions, and any supplier-specific notes on solubility. Do not assume that every peptide behaves the same way. Sequence, molecular size, formulation, and intended research application can affect solvent compatibility and stability.
Inspect the vial before preparation
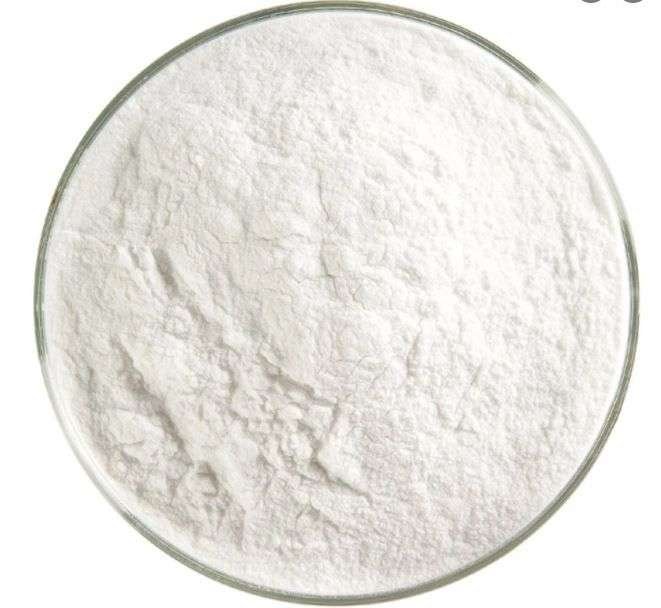
A quality-minded workflow starts with inspection. Check that the vial is sealed and clearly labeled. The lyophilized cake or powder may appear as a compact disc, flakes, or a fine layer depending on the formulation and shipping conditions. Appearance alone is not a complete quality test, but any concern involving a compromised closure, damaged vial, missing label, or unexpected material should be resolved before the sample enters a research workflow.
Allow a refrigerated vial to reach room temperature before opening when appropriate for the supplier’s handling guidance. This helps reduce moisture condensation around the vial and closure. Moisture is not a minor concern with lyophilized materials. It can affect handling and complicate accurate preparation.
Choose the Diluent for the Research Protocol
The diluent is not an afterthought. It is part of the experimental design. Depending on the peptide and the research method, a protocol may specify sterile water, buffered solutions, saline-based media, or another validated solvent system. The correct choice depends on the compound’s known solubility and the requirements of the assay or study.
Use only diluents that are appropriate for the specific research protocol and sourced, stored, and handled according to laboratory standards. A vague substitution can create inconsistent solubility, alter pH, or introduce variables that undermine data quality. When product documentation does not identify a compatible diluent, the right move is to consult the relevant technical literature or a qualified laboratory professional, not to guess.
The same standard applies to preparation tools. Use clean, suitable equipment and a controlled workspace. Organize labels, records, and materials before opening the vial. Once a reconstitution process begins, rushing is where simple arithmetic errors and labeling failures tend to happen.
Calculate concentration before adding liquid
Concentration should be decided before the diluent is introduced. The core calculation is straightforward:
Peptide mass ÷ final solution volume = concentration
For example, if a research vial contains a known mass in milligrams and the final volume is measured in milliliters, the result is expressed as milligrams per milliliter. Converting milligrams to micrograms requires multiplying by 1,000. The math is simple, but it must be recorded with precision because every downstream volume calculation depends on it.
A useful research record identifies the peptide, lot number, stated mass, diluent used, final volume, calculated concentration, preparation date, and storage location. If a prepared solution is later split into smaller aliquots, document those as well. Clear records reduce uncertainty and make it easier to identify where a discrepancy occurred.
Do not build a protocol around a concentration that is convenient only because it is easy to remember. Select a concentration that aligns with the measurement resolution and sample-volume needs of the research method. A highly concentrated solution may conserve storage space but can make small-volume measurements less forgiving. A more dilute solution may be easier to work with but can require additional storage and may not suit long-term stability goals. It depends on the experimental design.
Add Diluent With a Gentle Technique
Once the diluent and target concentration are confirmed, introduce the liquid slowly and carefully. Directing the stream against the inside wall of the vial rather than forcefully onto the lyophilized material can help minimize foaming and mechanical stress.
Many peptides should be mixed gently after diluent is added. Avoid treating the vial like a shaker bottle. Vigorous shaking can create foam, expose the material to unnecessary air-liquid interfaces, and potentially affect sensitive compounds. Gentle swirling or rolling is often preferred when appropriate to the protocol, followed by sufficient time for the material to dissolve.
A clear-looking solution is not always a complete confirmation of quality, but visible particles, persistent cloudiness, unexpected discoloration, or material that will not dissolve under validated conditions deserve attention. Do not force a solution into compliance by improvising solvents, heating aggressively, or extending handling beyond the established procedure. Document the observation and evaluate it against the product’s technical guidance.
Protect the prepared solution from avoidable stress
After reconstitution, the peptide is generally more vulnerable than it was in its lyophilized state. Temperature, light exposure, repeated handling, and contamination risk become more relevant. This is why disciplined labs avoid preparing more solution than a study requires when stability data is limited.
Aliquoting may be useful for certain research workflows because it can reduce repeated access to the primary solution. However, aliquoting introduces its own handling steps and should be performed only when the protocol, container compatibility, and storage plan are clearly defined. Every additional transfer is another opportunity for loss, contamination, or a labeling mistake.
Avoid repeated freeze-thaw cycles unless the peptide-specific stability information supports them. If a study requires multiple time points, plan the storage strategy before reconstitution rather than repeatedly warming and refreezing one vial out of convenience.
Storage Is Part of Reconstitution Quality
A correctly prepared solution can still become unreliable if storage is poorly controlled. Follow the supplier’s recommended temperature and light-protection requirements. Store prepared samples in clearly labeled, suitable containers and maintain a consistent temperature environment whenever possible.
The label should give another researcher enough information to identify the sample without relying on memory. At minimum, include the compound name, concentration, diluent, preparation date, and any relevant handling designation. Lot information and preparer initials can add useful traceability in a more formal research setting.
Do not rely on appearance alone to determine whether a stored solution remains fit for research. Stability is compound-specific and condition-specific. A sample can appear unchanged while still experiencing degradation that affects experimental results. Respect documented stability windows, and when results carry real weight, build appropriate controls into the study design.
Common Reconstitution Failures That Cost Data
Most preparation problems are not dramatic. They are small process failures that compound over time: using an unverified diluent, failing to calculate the final concentration before preparation, mixing too aggressively, leaving a sample at an uncontrolled temperature, or using incomplete labels that make later verification impossible.
Another common mistake is treating a stated vial mass as a substitute for a complete analytical profile. Product identity, purity documentation, storage history, and chain-of-custody practices all matter. This is why sourcing from a trusted, lab-tested supplier matters as much as the preparation technique. ASN-LABS emphasizes a quality-first research standard because consistency begins before a vial reaches the work area.
The strongest workflow is not the fastest one. It is the one that can be repeated, checked, and defended. Build a short pause into every preparation: verify the vial, verify the diluent, verify the math, verify the label, and verify the storage plan. That discipline turns peptide reconstitution from a routine task into a reliable foundation for better research.